Unlock the Secret to Perfect Crispy Homemade Onion Rings at Home
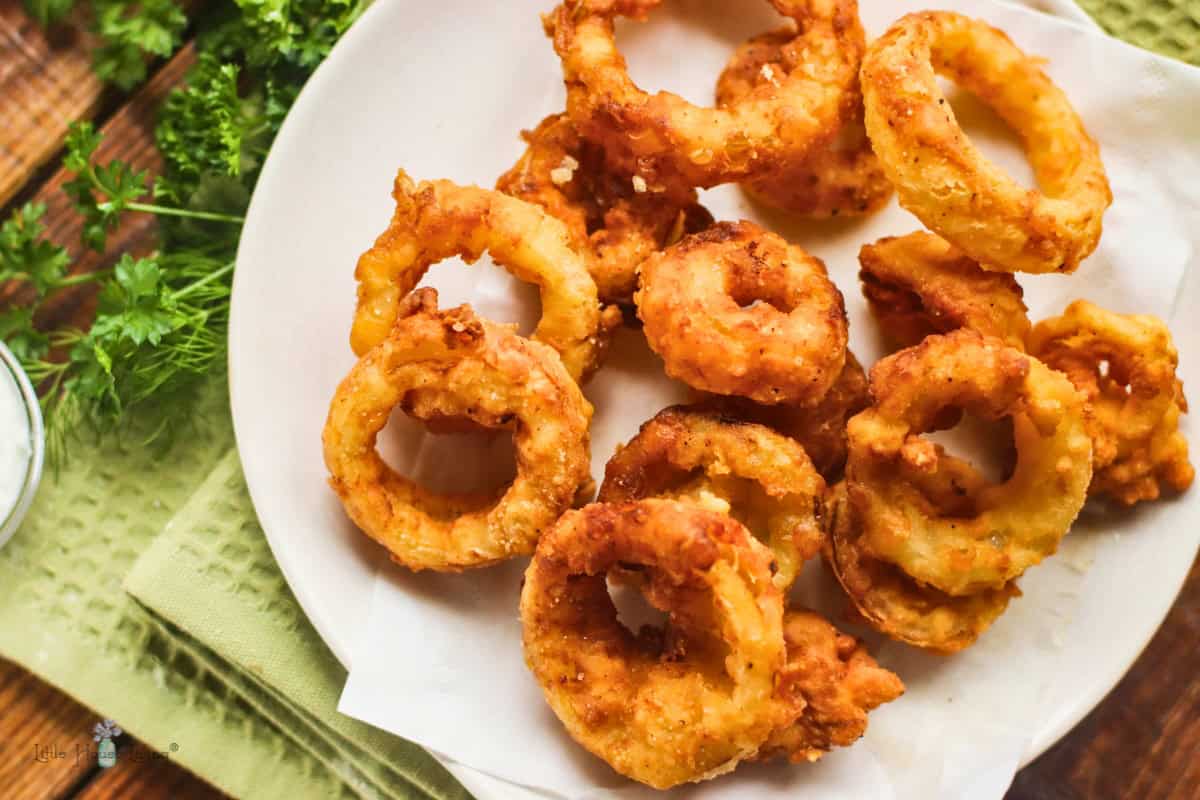
There’s an undeniable magic to a perfectly crispy onion ring. That harmonious blend of sweet, tender onion encased in a golden, crunchy batter, seasoned just right, is a culinary delight that often feels exclusive to your favourite diner. But what if we told you that restaurant-quality
homemade onion rings are not only achievable but surprisingly easy to master in your own kitchen? Prepare to transform humble onions into an utterly addictive snack or side dish that will have everyone asking for your secret recipe.
Forget bland, greasy imitations. This comprehensive guide will arm you with all the knowledge, tips, and tricks you need to consistently produce onion rings that are superior to any you’ve ever tasted. We’ll delve into the science behind the crunch, the art of flavour balance, and the foolproof techniques that guarantee perfection every time.
The Foundation of Flavour: Choosing Your Onions and Crafting the Perfect Batter
The journey to exceptional
homemade onion rings begins with the right ingredients, particularly your star player: the onion.
Selecting the Best Onions
For onion rings, sweet varieties are paramount. Think Vidalia, Walla Walla, or other sweet yellow onions. These types boast a naturally mild flavour and lower sulfur content, which means less of that pungent "tangy bite" and more pure, delightful sweetness that caramelises beautifully when fried. Slice your chosen onions into uniform rings, about ¼ to ½ inch thick. Consistency is key here; uneven slices will cook unevenly, leading to some rings being perfectly crisp while others remain undercooked or overdone. Carefully separate the rings before moving on to the batter.
Building the Flavourful Batter
The batter is the crispy shell that cradles the sweet onion. Its composition is critical for achieving that coveted crunch and delicious flavour. Here’s a breakdown of the essential components and their roles:
- Dairy Base (Milk or Alternative): The reference context highlights milk, which contributes to the batter's tenderness and rich flavour. For those with dietary restrictions, unsweetened dairy-free alternatives like almond or oat milk work beautifully.
- Acidity (Vinegar): A splash of white or apple cider vinegar works wonders. When combined with milk, it creates a buttermilk-like effect, tenderising the onion slightly and adding a subtle tang that brightens the overall flavour profile. Let the milk and vinegar sit for about 5 minutes to activate before whisking in other wet ingredients.
- Binding Agent (Egg): An egg acts as the crucial binder, helping the dry flour mixture adhere seamlessly to the onion rings, ensuring a robust coating that won’t fall off during frying.
- Flour (All-Purpose or Gluten-Free): This is the structural backbone of your crispy coating. All-purpose flour is standard, but a good quality gluten-free blend can easily substitute without compromising texture for those needing a gluten-free option.
- Seasoning (Salt, Garlic Powder, Pepper): Don't underestimate the power of simple seasoning! A generous pinch of salt, a dash of garlic powder, and freshly ground black pepper elevate the batter's flavour, making each bite more satisfying. Feel free to experiment with a touch of paprika or cayenne for an extra kick.
Choosing the Right Frying Oil
The type of oil you use significantly impacts the taste and crispiness of your
homemade onion rings. You need a neutral-flavoured oil with a high smoke point to ensure the oil doesn't burn before your rings are cooked. Excellent choices include:
- Avocado Oil: A healthy option with a very high smoke point.
- Safflower Oil: Mild in flavour and good for frying.
- Peanut Oil: Classic for deep frying due to its high smoke point and neutral taste.
- Canola Oil: A widely available and economical choice.
Avoid olive oil, which has a lower smoke point and can impart an undesirable flavour.
Mastering the Dip and Dredge: The Secret to Superior Coating
The technique for coating your onion rings is where much of the magic happens, ensuring a thick, flavourful, and incredibly crispy exterior. This "double dredge" method, as outlined in the reference context, is foolproof.
1.
Prepare Your Wet Mixture: In a medium bowl, combine your milk and vinegar. Let it sit for 5 minutes, then whisk in the egg until well combined. This is your wet station.
2.
Prepare Your Dry Mixture: In a shallow dish (a pie plate or a wide, shallow bowl works perfectly), whisk together the flour, salt, garlic powder, and pepper. This is your dry station.
3.
The First Flour Coat: Take your separated onion slices and thoroughly dip them into the dry flour mixture first. Shake off any excess. This initial coating is crucial; it helps absorb any surface moisture from the onion and creates a slightly rough texture, giving the subsequent wet batter something substantial to cling to.
4.
The Wet Dip: Once all your onion rings have received their initial flour dusting, dip them into the wet milk and egg mixture. Let any excess liquid drip off, ensuring an even, thin coat.
5.
The Second Flour Coat: Immediately transfer the wet onion ring back into the dry flour mixture. This time, really press the flour onto the onion ring, ensuring it’s completely encased in a thick, even layer of seasoned flour. This is what forms that incredible, crispy crust.
6.
Resting the Coated Rings: As you coat each ring, place it on a clean plate or tray. While not strictly mandatory, letting the coated rings rest for 5-10 minutes can help the batter adhere even better, reducing the chance of it separating during frying.
For a deeper dive into making these irresistible treats, you might find more specialized techniques in
Master Crispy Homemade Onion Rings: Better Than Any Restaurant.
Frying Fundamentals: Achieving Unmatched Crispiness
Now for the exhilarating part – frying! This stage is where your meticulously prepared onions transform into golden, crispy perfection. However, precise execution is key to avoiding soggy, greasy, or burnt rings.
The Golden Rule: Oil Temperature is Non-Negotiable
This is perhaps the single most critical factor in achieving truly crispy
homemade onion rings. The reference context correctly emphasizes keeping your oil consistently between
350-375°F (175-190°C).
*
If the oil is too cool: The batter will absorb too much oil before it has a chance to crisp up, resulting in greasy, soggy onion rings that lack that desirable crunch.
*
If the oil is too hot: The batter will brown and burn rapidly on the outside, while the onion inside remains undercooked, and the overall flavour will be bitter.
Invest in a good deep-fry thermometer. It's your best friend here. Clip it to the side of your heavy-bottomed pot or Dutch oven and monitor the temperature closely throughout the frying process. Adjust your heat as needed to maintain this optimal range.
The Art of Batch Frying
Resist the urge to overcrowd the pan, no matter how tempting it is to speed up the process. Frying in small batches is vital for two main reasons:
1.
Maintaining Oil Temperature: Adding too many cold items to hot oil will drastically drop the oil temperature, leading to the dreaded soggy rings.
2.
Even Cooking: Crowding prevents the onion rings from cooking evenly and achieving a uniform golden brown crisp.
Fry just a few rings at a time, allowing them ample space to bubble and crisp. This ensures each ring gets the perfect amount of heat.
The Frying Process
Gently lower the coated onion rings into the hot oil. Fry for 2-4 minutes per batch, turning them once or twice, until they are beautifully golden brown and incredibly crispy.
Draining for Maximum Crispiness
Once fried, immediately remove the onion rings from the oil using a slotted spoon or spider and transfer them to a wire rack set over a baking sheet. **Avoid draining them on paper towels.** Paper towels can trap steam underneath the rings, making them soggy. A wire rack allows air to circulate, maintaining their crispness. Sprinkle with a little extra salt immediately after draining for optimal flavour. For beginners seeking simplicity, our
Easy Homemade Onion Rings: Foolproof Recipe for Beginners provides a fantastic starting point.
Beyond the Fryer: Serving, Storing, and Enjoying Your Creations
Your glorious batch of
homemade onion rings is ready! Now comes the fun part: devouring them.
Perfect Pairings and Dipping Delights
Onion rings are incredibly versatile. They make a phenomenal appetizer for any gathering, a delightful snack during a game, or an elevated side dish.
*
Classic Combinations: Serve them alongside gourmet hamburgers, pulled pork sandwiches, or any BBQ feast. They're a fantastic alternative to French fries.
*
Unexpected Twists: Use them as a crunchy topping for salads, chili, or even a deconstructed taco bowl.
*
Dipping Sauces: While ketchup is a timeless choice, elevate the experience with homemade aioli, spicy mayonnaise, a smoky BBQ sauce, or a creamy ranch dressing.
The Secret to Freezing Onion Rings
One of the great revelations mentioned in the reference context is the ability to freeze
homemade onion rings. This is a game-changer for meal prep and future cravings!
*
Freezing *Before* Frying: This is often the preferred method. After the double dredge, arrange the coated, unfried onion rings in a single layer on a parchment-lined baking sheet. Place in the freezer until solid (about 1-2 hours). Once frozen, transfer them to a freezer-safe bag or airtight container. When ready to cook, fry them directly from frozen, adding a couple of extra minutes to the cooking time.
*
Freezing *After* Frying: If you have leftovers, allow the fried onion rings to cool completely. Arrange them in a single layer on a baking sheet and freeze until solid. Transfer to a freezer-safe bag. To reheat, bake them in a single layer on a baking sheet in a preheated oven at 375°F (190°C) for 10-15 minutes, or until heated through and re-crisped.
Troubleshooting Common Issues
*
Soggy Onion Rings: Almost always an oil temperature issue. Ensure your oil stays within the 350-375°F range and avoid overcrowding the pan.
*
Bland Flavour: Don't be shy with seasoning the dry flour mixture! A little extra salt, garlic powder, and pepper make a big difference.
*
Batter Falling Off: Ensure the initial flour coating is thorough, and press the second flour coating firmly onto the onion. A short rest before frying can also help.
Conclusion
There you have it – the comprehensive guide to unlocking the secret of perfect, crispy
homemade onion rings. By understanding the importance of sweet onions, mastering the double-dredging technique, and meticulously controlling your oil temperature, you can create a culinary masterpiece that rivals any restaurant offering. So go ahead, don your apron, fire up the fryer, and prepare to delight your taste buds with the irresistible crunch and sweet flavour of your very own, perfectly executed onion rings. They're more than just a snack; they're an experience waiting to happen.